.jpg)
? 1 min 44 s read
Share this article
Facebook Twitter Envelope Pinterest LinkedinBuying a professional inflatable also means being able to successfully maintain it every day of the year. A damaged inflatable should attract your attention immediately: it is a safety hazard and can deteriorate quickly. The inflatable should be repaired as soon as you notice any damage. When you purchase an inflatable, you will receive a repair kit containing all the necessary accessories for a good repair: a spool of heavy-duty thread, glue, a needle and spare PVC fabric.
Deflating the inflatable
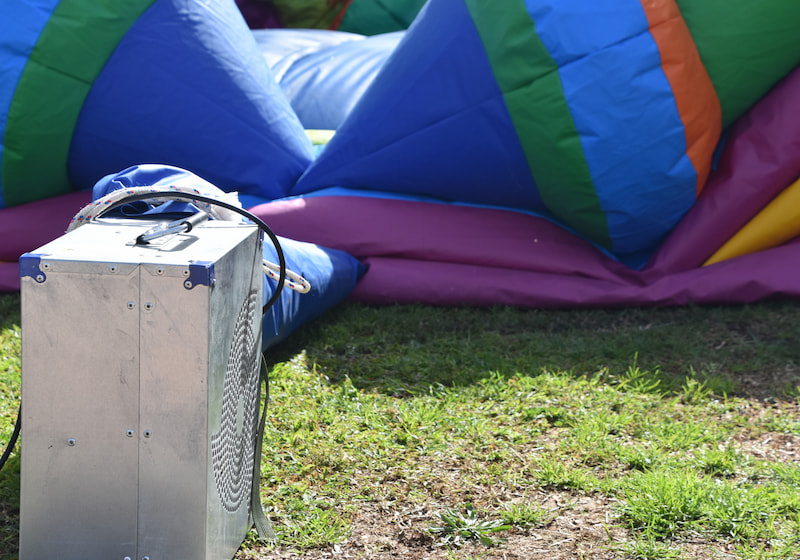
The first step in repairing an inflatable is to deflate it and lay it flat. When deflated, it is much easier to handle and repair. When your inflatable is completely deflated, place the damaged area where it can be easily repaired.
Clean the damaged area
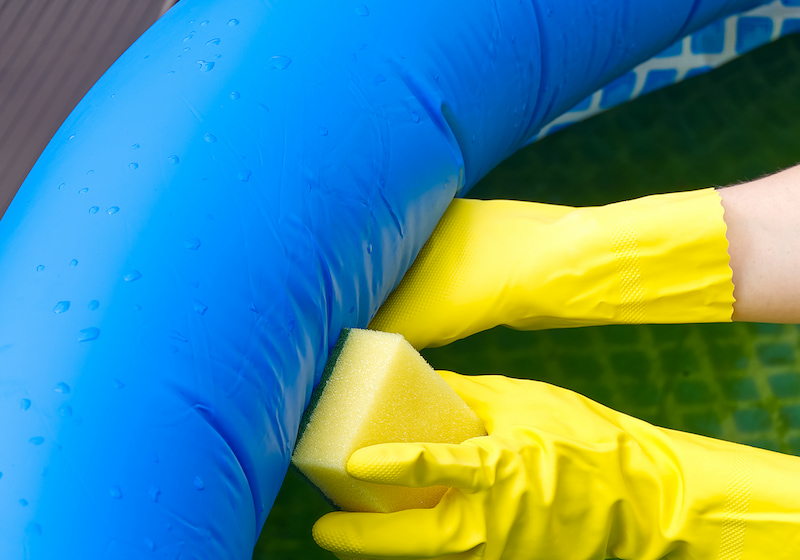
Clean the damaged area with disinfectant and a cloth. It will be much easier to repair on a clean, dry surface. If you use a disinfectant diluted with water, make sure the surface is not wet when you work on the inflatable.
Use a needle and thread
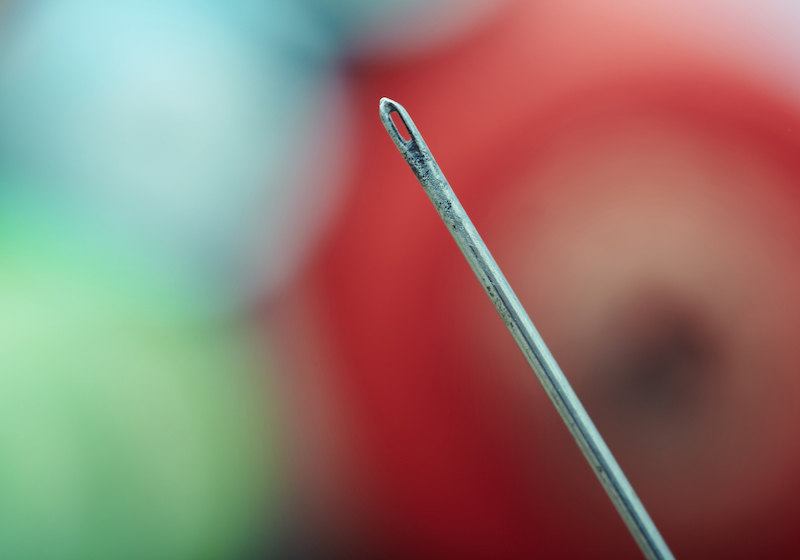
If two parts have come apart, you can sew them back together using the needle and thread supplied in the repair kit. It is best to use the tools provided in the repair kit first as they are specially designed for this type of material, thermoplastic. Insert the thread and start by piercing the fabric with the needle. Make several stitches and then tie a tight knot. You can add a pinch of professional glue to strengthen the seam.


Apply the patch
The damage may also be on a solid surface of the inflatable and form a hole. If there is a tear in the fabric, you can apply a patch using the glue in the repair kit. Please note that if the hole is too large, it is best to call an inflatable professional to repair it directly.
If you are unsure about the repair, consult the instruction manual and contact your inflatable supplier. This will ensure a quality repair. Also, inflatables are often guaranteed for several months.


